Unlock the Magic of Homemade Crème Brûlée: No Blowtorch, Pure Elegance
Imagine a dessert that whispers sophistication, yet is surprisingly simple to create in your own kitchen. That's the allure of crème brûlée. This classic French delight, with its rich, creamy custard base and signature crackling sugar topping, often seems like something reserved for high-end restaurants. But we're here to shatter that misconception and show you just how accessible this luxurious treat can be, especially with our incredible Creme Brulee Recipe that requires absolutely no blowtorch!
For too long, the idea of owning a kitchen blowtorch has been a barrier for many home bakers dreaming of perfectly caramelized sugar. Perhaps you, like many, have a small kitchen where every gadget needs to earn its keep, or simply don't want to invest in a single-purpose tool. Well, put those worries aside! This guide will empower you to craft exquisite crème brûlée using a common kitchen appliance you already own: your oven's broiler. Get ready to impress your guests (and yourself!) with an irresistible dessert that proves elegance doesn't require an arsenal of specialized equipment.
What Exactly is Crème Brûlée? The "Burnt Cream" Explained
Before we dive into the how-to, let's appreciate the artistry behind this dessert. Crème brûlée, pronounced "krem-broo-lay," literally translates from French to "burnt cream." But don't let the name scare you – it refers to the perfectly caramelized sugar crust, not a scorched disaster! At its heart, crème brûlée is a deceptively simple dessert crafted from a few humble ingredients that transform into something extraordinary.
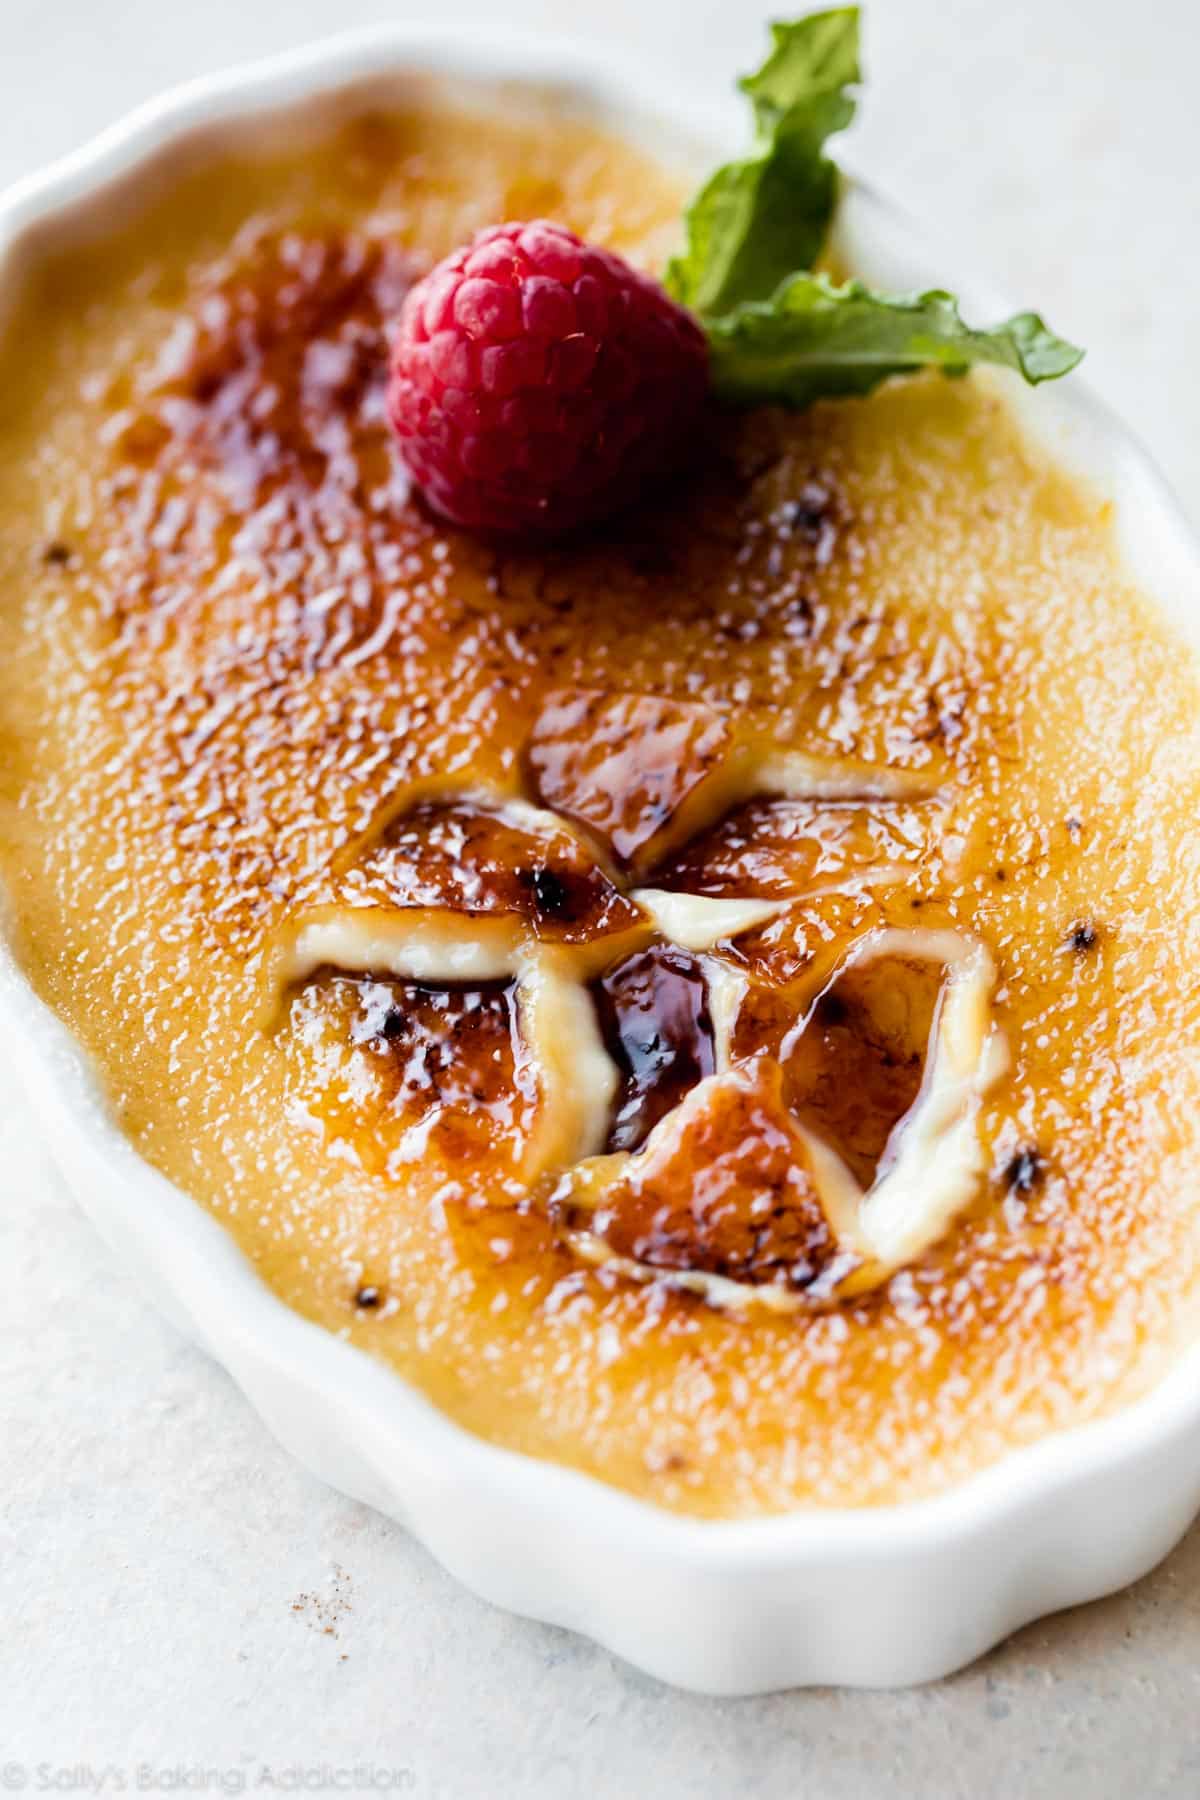
The beauty of crème brûlée lies in its delightful contrast: a silky, smooth, and cool custard beneath a thin, brittle, and warm layer of caramelized sugar. The satisfying crack as your spoon breaks through the golden crust to reveal the velvety interior is an experience in itself. It's a dessert that engages multiple senses, making it a timeless favorite and a guaranteed showstopper. And the best part? Our approach to this Creme Brulee Recipe ensures that signature crack is within reach for every home cook.
The Magic of Minimal Ingredients: Your Path to a Perfect Crème Brûlée
One of the most surprising aspects of this fancy-sounding dessert is its incredibly short ingredient list. You only need five staple items, most of which you likely already have in your pantry and fridge. This simplicity means that the quality of each ingredient truly shines through, contributing to the dessert's overall flavor and texture. For more insights into these essential components, check out our guide on Ingredient Creme Brulee: Your Simple Classic French Dessert.
Here’s what you'll need for this exquisite Creme Brulee Recipe:
- Heavy Whipping Cream: This is the backbone of your custard, providing the rich, luxurious body and helping it set into that perfectly scoopable shape. There's no substitute here – the higher fat content is crucial for the velvety texture and stability.
- Egg Yolks: The unsung heroes of crème brûlée! Egg yolks are what thicken the custard and give it that signature creamy, decadent mouthfeel. They emulsify the mixture and prevent a runny, disappointing result. Only the yolks are used; save those whites for an omelet or meringue!
- Sugar: You'll use sugar in two ways. Granulated white sugar sweetens the custard base, providing balance to the rich cream. Brown sugar is often preferred for the topping due to its slightly deeper flavor and ease of caramelization under the broiler, creating that iconic crunchy crust.
- Vanilla Extract: In a recipe with so few ingredients, the quality of your vanilla makes a significant difference. Opt for a pure vanilla extract, ideally one made from real vanilla beans, to infuse your custard with a warm, aromatic depth that artificial versions simply can't replicate.
- A Pinch of Salt: While not always listed as a primary ingredient, a tiny pinch of salt in the custard base is vital. It doesn't make the dessert salty, but rather enhances and balances the sweetness of the sugar and the richness of the cream, bringing out the full flavor profile.
See? Just a handful of items stand between you and a truly remarkable dessert. The secret lies not in exotic ingredients, but in careful technique.
Mastering the No-Blowtorch Method: Your Broiler is Your Best Friend
Now for the star of the show: creating that irresistible burnt sugar topping without a blowtorch. Our broiler method is incredibly effective and yields the same perfect crunch you'd expect from a traditional torch. It just requires a little attention and confidence.
Step 1: Crafting the Velvety Custard Base
- Preheat Your Oven: Start by preheating your oven to 325°F (160°C). This low, consistent temperature is key for gently baking the custard.
- Warm the Cream: In a small, heavy-bottomed saucepan, gently heat the heavy whipping cream over medium heat. Watch it carefully; you want it to just reach a simmer, where small bubbles form around the edges of the pan. Remove it from the heat immediately to prevent scorching.
- Whisk Yolks and Sugar: In a separate large bowl, whisk together the egg yolks and granulated sugar. Whisk until they are well blended and pale yellow, but avoid over-whisking to the point of creating a foamy mixture. Foam can lead to an undesirable texture in your finished custard.
- Temper the Eggs: This is a crucial step! Slowly pour the hot cream into the egg yolk mixture in a thin, steady stream, whisking constantly. This process, called tempering, gradually raises the temperature of the egg yolks, preventing them from scrambling. Once combined, stir in your vanilla extract and that small pinch of salt.
- Strain for Silkiness: For an extra-silky custard, pour the mixture through a fine-mesh sieve into another bowl or directly into your ramekins. This removes any potential cooked bits of egg or vanilla bean specks, ensuring a perfectly smooth texture.
Step 2: The Gentle Bake in a Water Bath
The water bath (bain-marie) is essential for evenly cooked, crack-free custards. It provides a moist, gentle heat environment, preventing the edges from cooking faster than the center.
- Prepare Ramekins: Arrange eight 6-ounce broiler-safe ramekins in a large baking pan. Ensure the pan is large enough to hold them without touching, allowing for even heat distribution.
- Fill Ramekins: Carefully pour the strained custard mixture into each ramekin, filling them nearly to the top.
- Create the Water Bath: Place the baking pan with the filled ramekins on the oven rack. Then, carefully pour very hot water into the baking pan, ensuring it comes up to about ½ inch from the top of the ramekins. Be careful not to splash water into the custards.
- Bake to Perfection: Bake for 25 to 30 minutes, or until the centers of the custards are just set but still have a slight jiggle. They will continue to set as they cool.
- Cool and Chill: Immediately remove the ramekins from the water bath (use tongs or a spatula to lift them carefully) and transfer them to a wire rack. Cool for about 10 minutes at room temperature, then refrigerate until they are completely cold and firm, typically for at least 4 hours, but preferably overnight. This chilling period is vital for the custard to fully set.
Step 3: The Broiler's Golden Touch (No Blowtorch Needed!)
This is where the magic happens and your broiler steps in to create that iconic crunchy topping. For more advanced techniques and troubleshooting, refer to our article: Unlock Perfect Creme Brulee: Velvety Custard & Crunchy Top.
- Bring to Room Temp (Slightly): When ready to serve, remove the cold ramekins from the refrigerator and let them sit at room temperature for about 15 minutes. This prevents the cold ramekin from cracking if exposed to high heat too quickly, and helps the sugar adhere better.
- Preheat the Broiler: Position your oven rack about 4-6 inches from the broiler element. Preheat your broiler on high.
- Sugar the Top: Sprinkle 1-2 teaspoons of brown sugar (or granulated sugar, if preferred) evenly over the top of each chilled custard. Ensure an even, thin layer for consistent caramelization.
- Broil with Vigilance: Place the ramekins on a baking sheet and slide them under the preheated broiler. This step requires your undivided attention! Watch *constantly*. The sugar will melt and caramelize very quickly, usually within 1-3 minutes. You're looking for a beautiful, even amber-brown color, not black or smoking.
- Serve Immediately: Once the sugar is caramelized, remove the ramekins from the oven. Let them cool for just a couple of minutes to allow the sugar to harden into that beautiful, brittle crust. Serve right away to enjoy the contrast of the warm, crunchy topping and the cool, creamy custard.
Tips for Perfecting Your No-Blowtorch Crème Brûlée
- Don't Overbake: Overbaked custard will be rubbery and may crack. The slight jiggle in the center is exactly what you want.
- Watch the Broiler Like a Hawk: This cannot be stressed enough. Broilers are powerful, and sugar can go from perfectly caramelized to burnt in seconds. Stay by the oven door.
- Use Broiler-Safe Ramekins: Ensure your ramekins are made of ceramic or other oven-safe material that can withstand high broiler heat without cracking.
- Chill Thoroughly: A well-chilled custard is essential not just for setting, but also for providing that refreshing contrast to the warm sugar topping.
- Make Ahead: The beauty of crème brûlée is that the custards can be made and chilled up to 2-3 days in advance. Only add the sugar topping and broil just before serving.
- Experiment with Sugar: While brown sugar often yields a richer caramelization, granulated white sugar also works. Some even like to mix in a tiny pinch of cinnamon with the sugar for an extra aromatic touch.
Conclusion: Elegant Dessert, Effortless Creation
You've now learned the secrets to creating an impressive, restaurant-quality crème brûlée right in your own kitchen, all without the need for a specialized blowtorch. This Creme Brulee Recipe proves that elegance and deliciousness are truly within reach, demanding only a few simple ingredients and a bit of patience. The velvety custard, infused with aromatic vanilla, perfectly complemented by the crisp, sweet crunch of caramelized sugar, is a culinary experience that will delight anyone who tastes it. So, go ahead, gather your ingredients, trust the process, and prepare to unveil a dessert that is as easy to make as it is utterly irresistible. Happy baking!