Imagine a dessert that whispers sophistication, yet is surprisingly simple to create in your very own kitchen. That's the magic of a perfect Creme Brulee. With its elegant presentation, rich, velvety custard, and that irresistible, shatteringly crunchy caramelized sugar topping, it’s a showstopper that consistently impresses. Often perceived as a complex, chef-exclusive creation, we're here to demystify this classic French treat, proving that an exquisite Creme Brulee Recipe is well within your grasp.
The beauty of homemade Creme Brulee lies not just in its deliciousness but also in its accessibility. You'll be amazed to discover that this "fancy" dessert typically requires only a handful of staple ingredients – often just five! – that you likely already have on hand. Gone are the days of reserved enjoyment at high-end restaurants; today, we're bringing that luxurious experience to your dining table, complete with that satisfying crack of the spoon.
The Allure of Creme Brulee: Elegance Made Easy
The name "Crème Brûlée" itself, pronounced "krem-broo-lay," simply translates to "burnt cream" in French. This humble name belies the dessert's incredible dual texture experience: a smooth, rich custard base crowned with a brittle, caramelized sugar crust. It's this delightful contrast—the cool, silken cream against the warm, crisp sweetness—that makes it so utterly addictive and memorable.
While its origins date back centuries, its enduring popularity is a testament to its timeless appeal. Many home cooks shy away from attempting a Creme Brulee Recipe, intimidated by the perceived need for specialized equipment or intricate techniques. We're here to challenge that notion. As many avid home bakers can attest, including even teenagers who master it with a little guidance, crafting this dessert is far more approachable than you might imagine. It's a fantastic entry point into the world of French patisserie, offering immense reward for minimal effort.
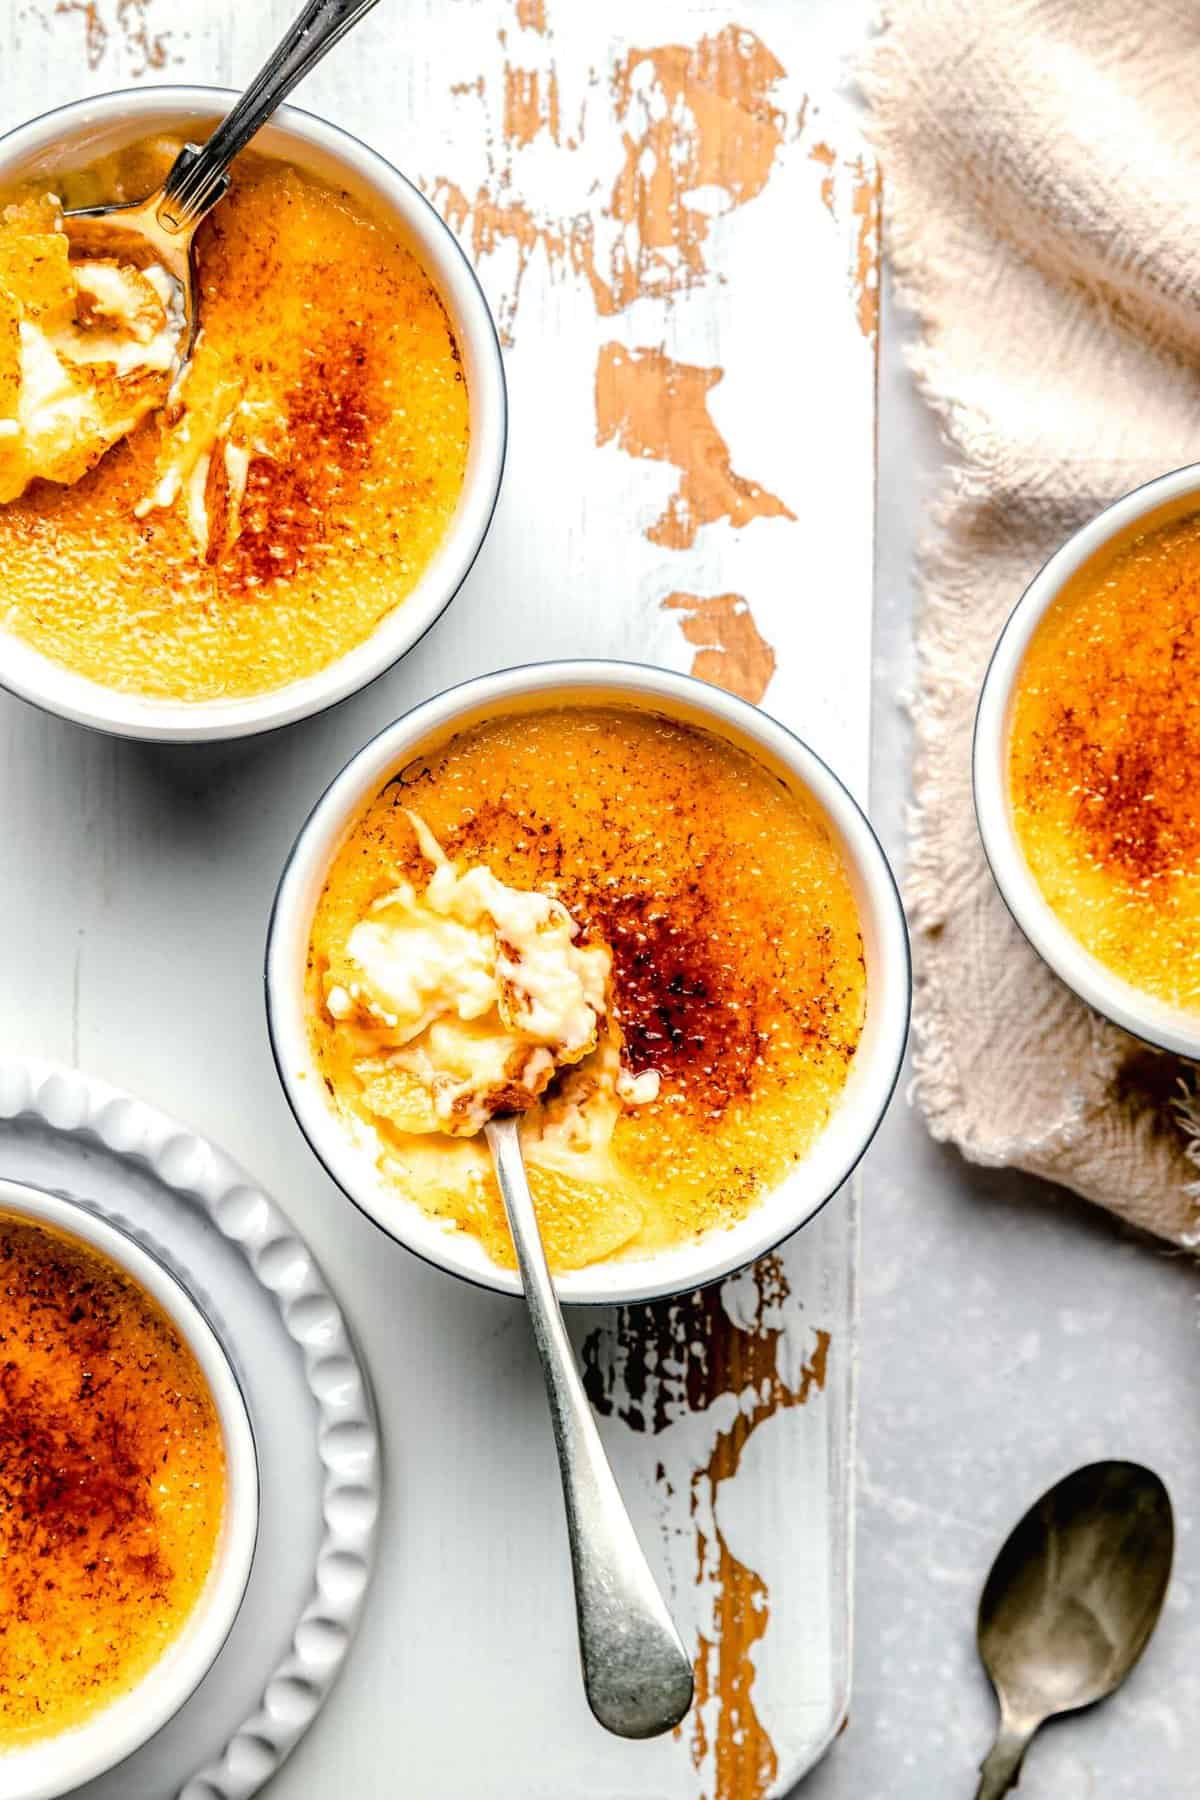
The Core Components: Velvety Custard & Crunchy Caramel
At its heart, Creme Brulee is a symphony of two distinct textures that play off each other beautifully. The base is a lush, creamy custard, typically made from heavy cream, egg yolks, sugar, and a hint of vanilla. This custard is baked gently until just set, resulting in a dreamy, melt-in-your-mouth consistency. The crowning glory, however, is the caramelized sugar topping. A thin layer of sugar is spread over the chilled custard and then rapidly heated until it melts, bubbles, and transforms into a hard, amber-colored candy shell. This is the "burnt" part, providing the signature crunch that defines the dish.
Mastering the Velvety Custard: Ingredients & Technique
Achieving that perfect velvety custard is paramount to a successful Creme Brulee. It hinges on the quality of your ingredients and a few precise techniques. As discussed in our article 5-Ingredient Creme Brulee: Your Simple Classic French Dessert, the ingredient list is remarkably short, emphasizing the importance of each component.
- Heavy Whipping Cream: This is the foundation of your custard. Its high-fat content is crucial for the rich flavor and smooth, firm texture that holds its shape beautifully. Do not substitute with lighter creams or milk, as they will result in a less luxurious, possibly runny custard.
- Egg Yolks: The unsung heroes! Egg yolks are the primary thickening agent, preventing a watery custard and creating that signature velvety mouthfeel. They emulsify the cream and sugar, binding everything together. The more yolks you use, the richer and thicker your custard will be.
- Granulated Sugar: Sugar sweetens the custard and provides the necessary structure when combined with the yolks and cream. It also contributes to the desired creamy consistency.
- Vanilla Extract: In recipes with so few ingredients, the quality of your vanilla truly shines. Opt for a good quality pure vanilla extract made from real vanilla beans for the best aromatic and flavor contribution.
The Art of Tempering: Preventing Scrambled Eggs
One of the most critical steps in preparing the custard is tempering the egg yolks. This technique prevents the eggs from scrambling when introduced to the hot cream. Here's how it's done:
- Gently heat the heavy cream in a saucepan until small bubbles just begin to form around the edges. Remove it from the heat immediately to avoid scorching.
- In a separate bowl, whisk your egg yolks and granulated sugar together until just combined and a pale yellow. Avoid over-whisking to prevent excessive foam, which can lead to a less smooth custard.
- Slowly, in a thin stream, pour a small amount of the hot cream into the egg yolk mixture while continuously whisking. This gradually raises the temperature of the egg yolks without cooking them.
- Once about a quarter to a third of the hot cream has been incorporated, you can then slowly pour the tempered egg mixture back into the remaining hot cream in the saucepan, continuing to whisk gently.
- Stir in your vanilla extract.
This careful tempering ensures a beautifully smooth and homogenous custard base.
Baking to Perfection: The Essential Water Bath
Once your custard mixture is ready, it's poured into individual ramekins. The secret to evenly baked, silken custard is a water bath (bain-marie). Place your ramekins in a larger baking pan, then fill the baking pan with very hot water, reaching about halfway to two-thirds up the sides of the ramekins. The water bath serves several vital functions:
- Gentle, Even Heat: It insulates the custards, providing a consistent, gentle heat that prevents the edges from cooking faster than the center, thus avoiding a rubbery texture.
- Prevents Cracking: The steam created by the hot water keeps the custard moist and helps prevent cracking on the surface.
- Promotes Smoothness: It ensures a slow, even set, contributing to the ultimate velvety texture.
Bake until the centers are just barely set – they should still have a slight jiggle when gently shaken, like firm jelly. Overbaking is the enemy of creamy custard. Immediately remove the ramekins from the water bath and cool them before chilling thoroughly in the refrigerator for several hours, or even overnight. Chilling is crucial for the custard to fully set and achieve its perfect consistency.
Achieving the Signature Crunchy Top: Torch or Broiler?
The final, exhilarating step is creating that iconic, hard caramel crust. This is where the "burnt cream" comes to life! You have two primary methods, each with its own advantages:
The Blowtorch Method: Precision & Speed
A kitchen blowtorch (often referred to as a culinary torch) is the traditional and arguably most satisfying tool for caramelizing Creme Brulee. It offers unparalleled control and precision. To use it:
- Ensure your chilled custards are at room temperature for about 15 minutes before caramelizing. This prevents the cold custard from rapidly cooling the hot sugar, which can lead to cracking.
- Sprinkle a thin, even layer of granulated sugar (or brown sugar for a deeper flavor) over the surface of each custard.
- Hold the blowtorch about 3-4 inches above the sugar and move it in slow, circular motions. The sugar will melt, bubble, and then caramelize into a beautiful amber color.
- Be vigilant! Caramelization happens quickly. Keep the torch moving to prevent burning, but don't be afraid to get a nice, dark amber for maximum flavor.
- Allow the caramelized sugar to cool for a few minutes until it hardens into a crisp shell.
The blowtorch method gives you an immediate, impressive result and doesn't heat the custard underneath significantly.
The Broiler Method: No Special Tools Required
If you don't own a kitchen blowtorch, fear not! You can still achieve a fantastic crunchy topping using your oven's broiler. This method is incredibly effective and makes homemade Creme Brulee accessible to everyone. For a detailed guide on this technique, check out our article Easy Homemade Creme Brulee: No Blowtorch Required.
- Again, let your chilled custards stand at room temperature for about 15 minutes.
- Preheat your broiler to its highest setting. Position an oven rack about 4-6 inches from the broiler element.
- Sprinkle a thin, even layer of granulated sugar (brown sugar also works well here, but watch it even more closely) over each custard.
- Place the ramekins on a baking sheet and carefully slide them under the broiler.
- Watch them constantly! This is critical. Caramelization under a broiler can happen in a matter of seconds. Do not walk away. The sugar will melt, bubble, and turn golden to dark amber.
- Once evenly caramelized, remove the ramekins from the oven and allow the sugar to cool and harden.
The broiler method requires a bit more vigilance, as the heat is less targeted, but the result is equally satisfying!
Essential Tips for Your Flawless Creme Brulee Recipe
To ensure every batch of your Creme Brulee is a resounding success, keep these practical tips in mind:
- Quality Ingredients Matter: Especially for heavy cream and vanilla extract, higher quality yields richer flavor.
- Don't Overbake: The "jiggle test" is your best friend. A slight jiggle in the center means it's perfectly done and will set completely upon chilling.
- Thorough Chilling: Allow ample time for your custards to chill completely in the refrigerator. This firms them up and makes for a more refreshing dessert.
- Even Sugar Layer: When adding sugar for caramelization, ensure it's an even, thin layer. This promotes uniform melting and browning. Too much sugar can create a very thick, potentially hard-to-crack topping.
- Room Temperature for Caramelization: Don't try to caramelize a fridge-cold custard directly; the sudden temperature change can cause the sugar to seize or crack unevenly.
- Experiment with Sugar for Topping: While granulated sugar is standard, some prefer brown sugar for its slightly deeper, molasses-like flavor in the crust.
- Make Ahead: Custards can be made and chilled a day or two in advance. Caramelize the topping just before serving to ensure maximum crunch.
Unlocking the perfect Creme Brulee is a rewarding culinary journey. From the luscious, creamy base to that iconic, crackling sugar shell, this dessert offers an experience that is both sophisticated and immensely comforting. Embrace the simplicity of the ingredients, master the gentle techniques, and prepare to delight your taste buds and impress your guests with this timeless classic.